Skip to content

I decided to do a "No-Till" bed this fall. The no-till strategy is a great, lazy person's way to quickly establish a garden bed. All you need is the stuff you've saved-- or should have saved-- from mowing the lawn and trimming the bushes all summer. Yup, all that crap you set out at the curb for the trash man every week is exactly what you should have kept for one of the easiest and best gardening techniques ever devised.

Also known as sheet-mulching or sheet-composting-- the method is well covered in Patricia Lanza's book "Lasagna Gardening"-- it involves the preparation of a garden bed by layering different organic materials into a ready-to-plant growing medium. You can read the book, or just get a reasonably good idea of how it works from what I did.
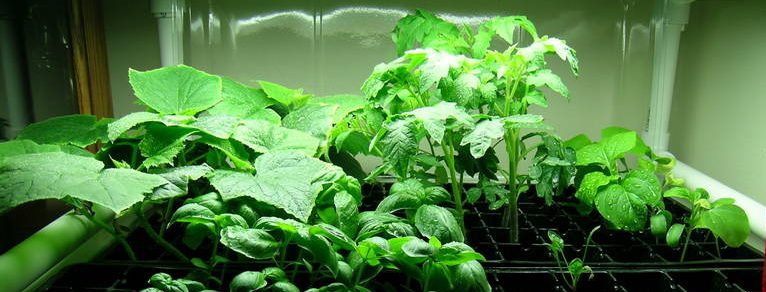
...continue reading "Don’t Ask, Don’t Till"

Feel bad every time you look in the refrigerator vegetable crisper bins and find stuff going to rot? There's a gardening bright side to this dilemma, and it's called vermi-composting.

What's that, you ask? It's actually nothing more than a fancy term for composting using worms. It's easy, and is probably one of the best things you can do for almost all your plants.

Worm castings, as they are called (conjuring up images of industrious little worms gracefully "casting" their... well... their "worm poo"), are one of the most nutrient-rich forms of organic fertilizer you can use. All you need is a dark-colored, covered-but-vented bin, some kitchen scraps, some moistened shredded up newspaper, and a pound or so of worms. ...continue reading "Worms Ate My Buick"

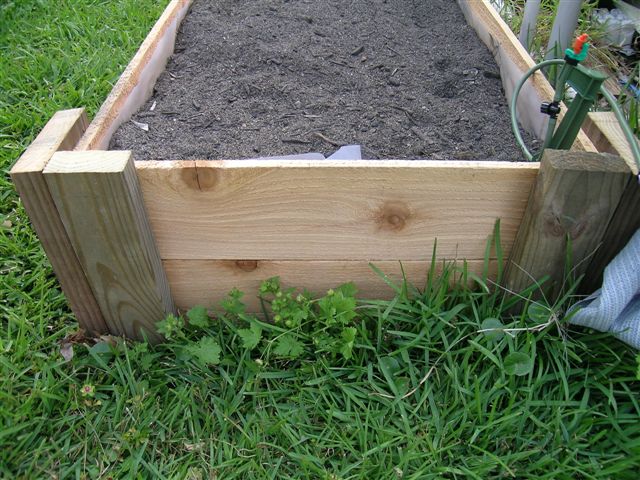
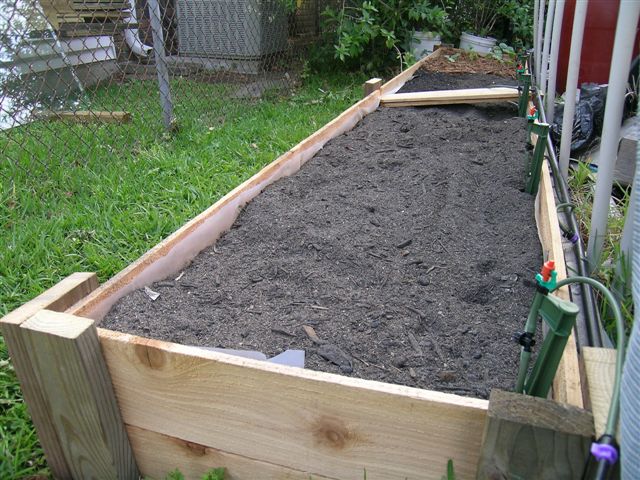
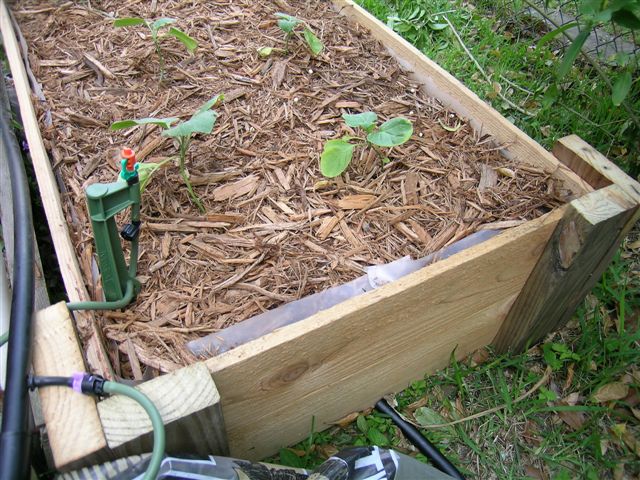
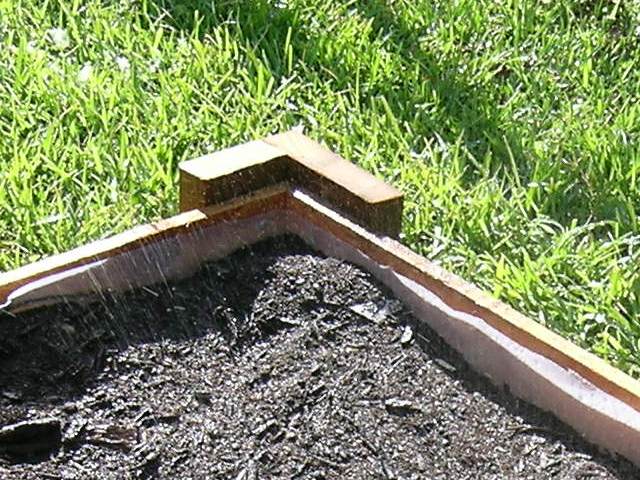
Not abandoning hydroponics by any means, I decided to try to go organic this season with a raised bed. I built mine 2 ft. by 12 ft. to go along the edge of a patio.

Construction, after a bit of design brainstorming, was fairly straightforward, and I was filling it up with soil in about an hour and a half.

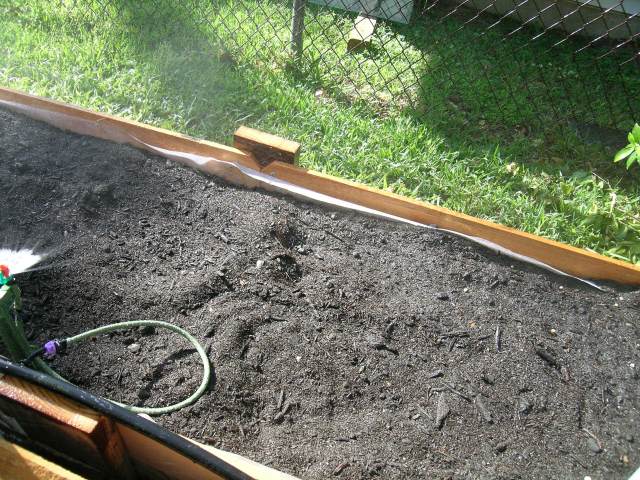
I used 6'x5.5"x5/8" cedar fenceboards. Corners are pressure treated 12" 2x4s screwed perpendicular to 12" 2x6s. Bottoms of 2x6s have 3/8" holes drilled 5" deep into which 12" 3/8" re-bar is inserted. These will serve to stake the box to the ground. Due to the 12 ft. length, center supports made of 12" 2x6s, again with the re-bar, tie the 6 ft. sections together in the middle. There's some very minor bowing at the middle, so I may or may not add something across the top, front to back, to pull it in line. 1-1/4" galvanized screws attach ends of cedar boards to insides of corners and center connectors, 1" down from tops of corner pieces so another layer can be stacked on top later if desired. 6 mil plastic sheeting lines the inside walls, but not the bottom-- two layers of heavy cardboard are laid out in the bottom to shut out the grass.

The local organic nursery delivered a yard and a half of organic garden mix in a super sack. Really nice stuff, and with the surplus, I'll have enough to beef up the beds in front of the house and fill another 6x6 foot raised bed . Plus, I have the compost pile going since last summer, and a worm bin that puts out some really good stuff for fertilizer.

If you do a lot of gardening, you know how valuable compost can be towards enriching the soil and improving plants. Rich in organic material, compost acts as a soil conditioner and nutrient source, and also contains beneficial microbes that assist in making those nutrients more readily available to your plants.Commercially-available compost making units seemed rather costly to me, so I decided to build a one out of an old trash can. Holes had been worn in the bottom of the can over nearly two decades of use, but I figured it could continue to be of service in a different way.

All the necessary materials: One old 32-gallon RubberMaid trash can with lid, and a length of 4" diameter corrugated, perforated plastic drainage pipe (available from most home improvement centers). ...continue reading "Making A Composter"