I decided to do a "No-Till" bed this fall. The no-till strategy is a great, lazy person's way to quickly establish a garden bed. All you need is the stuff you've saved-- or should have saved-- from mowing the lawn and trimming the bushes all summer. Yup, all that crap you set out at the curb for the trash man every week is exactly what you should have kept for one of the easiest and best gardening techniques ever devised.
Also known as sheet-mulching or sheet-composting-- the method is well covered in Patricia Lanza's book "Lasagna Gardening"-- it involves the preparation of a garden bed by layering different organic materials into a ready-to-plant growing medium. You can read the book, or just get a reasonably good idea of how it works from what I did.
I started by segregating my various materials into "carbons" and "nitrogens". Without getting all scientific, if it's dried and brown, it's mostly carbon; if it's still green and moist, it's relatively higher in nitrogen. Ideally, you want a ratio that's overall a bit more carbon than nitrogen. If you were trying to make traditional compost, you'd want a ratio of 25:1 carbon to nitrogen. If you think about it, what we're really doing is making compost-- just all over the garden bed instead of in a pile, bin or container. Since still-green grass clippings have both carbon and nitrogen in a lower ratio than dried material does, it's not always possible to create a precise composite ratio when layering, but, really, you don't necessarily need to. For the purposes here, you just want to end up with something that's a layered mixture of the typically available components, and is somewhat loose, fluffy, and moist in texture.
Anyway, dried leaves and grass clippings went in one pile, more recent grass clippings in another. I made a third pile of some well-dried hedge trimmings, which were composed of thin twigs and brown-but-brittle leaves trimmed from a boxwood hedge and some holly trees.
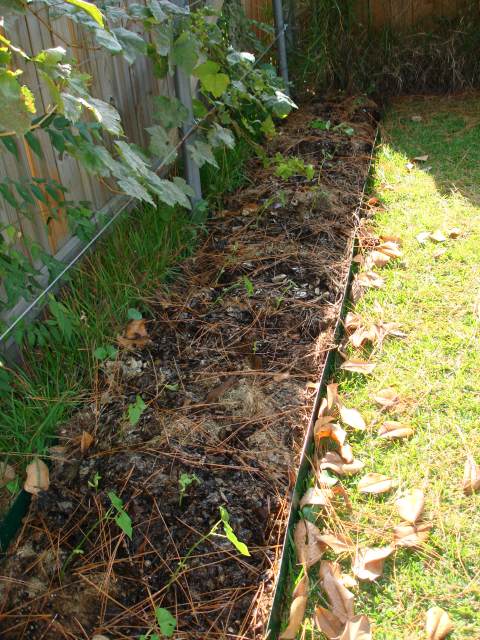
Although you don't need to, I created a line of demarcation with some steel edging, mainly because I was installing this bed at the back of my lawn, and wanted to minimize intrusive grass runners.
I cut some cardboard I obtained to fit the width and length of the bed, thus entirely blacking out the grass within its borders. You could also use a 5-6 page thick layer of wet newsprint. Overlap whatever you use by about 6 inches as you lay it out. The grass underneath will die, decompose and become the first "nitrogen" layer. The cardboard/newsprint will become the first "carbon" layer.
Next, I dumped out enough green, wet clippings to cover the cardboard an inch or so deep. I'd go so far as to call this layer a "green manure", as, judging by the pungent aroma and gooey texture, microbial decomposition was already well underway in the trash bag in which it had been saved. I followed that with a layer of mixed dried grass and leaves. I continued this alternate layering of lawn trimmings and sweepings until I had a good six inches in depth. I topped it off with the hedge leaves and twigs as a mulch layer. I left things alone for a week to let it "gel" a bit.
As I was growing at the edge of the yard along a fence row, I decided to plant pole snap beans. Using a two foot long 1"x1" wooden stake, I poked two 3" deep holes about every foot, each at about 6 inches from the front and rear of the 25 foot long by 2 foot-wide bed, resulting in around 50 plant sites. I dropped a bean seed in each hole, followed by a loose handful of a mixture of potting soil and composted chicken manure. I hand-watered the entire bed with a two-gallon sprinkler can, and then loosely hand-raked the mulch layer to cover the planting holes.
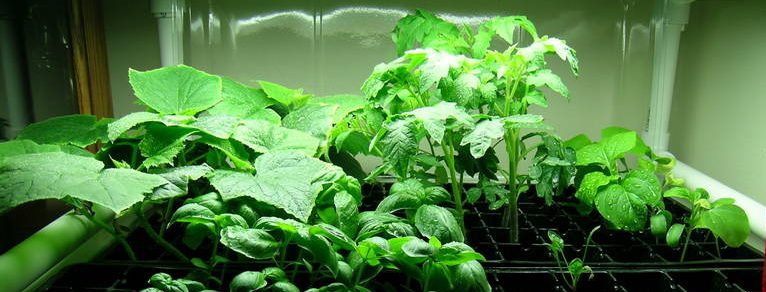
Repeating the watering regimen every other day, evidence of first germination occurred 5 to 6 days later, and, by day 8, twenty-one plants were already poking through the mulch, some by as little as 1/2 inch and some as much as 4 inches.