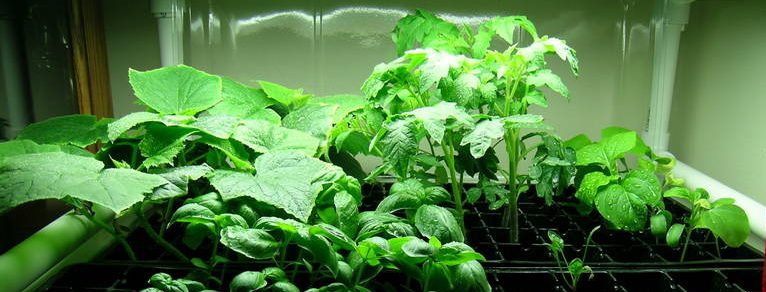

The simplest form of container gardening is a flower pot. The gardener is tasked with maintaining optimal levels of light, moisture, nutrients, and drainage for best results. "Self-watering" plastic pots with reservoirs and wicking plates are obtainable at most garden centers and big box stores. More advanced container systems employ reservoirs and plant feeding mechanisms to achieve a less labor-intensive solution.
The Earthbox©

A more ambitious container solution is available in the form of the well-regarded Earthbox©. At 30"L by 15"W by 12"H, the Earthbox is capable of accommodating several plants in a relatively compact form factor. The oblong container features a perforated platform raised 2" above the bottom by a plastic gridwork. Each rear corner of the platform has openings to allow soil to form wicks into the reservoir. A watering tube allows easy refill of the reservoir, and a reversible black/white plastic cover provides moisture retention, heat retention/reflection, and weed control. A drain hole in the box positioned just below the platform prevents over-watering.
The Earthbox uses a mechanism known as a gradient system to allow the plants to draw moisture from below as needed, and for nutrients placed on the surface of the soil to be drawn into the soil in an almost osmosis-like manner.
5-gallon Bucket Tomato Containers

I came up with an idea to use a couple of 5-gallon plastic buckets to approximate an Earthbox-type planter. The buckets happen to stack with about 4 inches of space between the bottoms of the two. This space will serve as the water reservoir.
I cut a 3-1/2"-inch hole in the bottom of one bucket, as well as sixteen 3/8" holes for soil aeration. A 16-ounce plastic Solo or Dixie cup placed in the hole serves as the ?wick? for the potting mix to absorb water. Cutting slits in it allows the water to pass through.
The only mod to the lower/outer bucket was to drill a 3/8" hole in the side just below the bottom edge of the upper/inner bucket, to serve as an overflow and to allow air in. One of the 3/8" holes near the edge of the inner bucket was enlarged to accept a length of 1" rigid plastic aquarium tube for a water fill tube. I purchased a single bucket lid, in which I cut a 3" hole in the center for a single tomato plant, and also a 1" hole to accomodate the watering tube. Before putting the lid on, I spread about a cup of granular fertilizer in a thin ring around the outer edge of the surface of the potting mix. Then the lid was put on and the tomato plant was planted through the center hole. Should be enough to sustain a single plant for an entire season.
Project cost: Buckets $2.50 (x2); lid $.97; 1"x18" tube $1.50; plastic cup free; 25 dry quarts potting mix $2.99; 1 cup dry fertilizer and 1 cup hydrated lime (to condition soil for tomatoes) ~ $.50. Total approx. $11.00.